Who should go through this article?
If you are an existing e-GMAT student who has already started attempting the course (for example, you have completed the CR learning stage and are currently working on RC), then this article is for you. It covers how to set up your Execution Tracker and update it with your real course data, including start and end dates of learning activities.
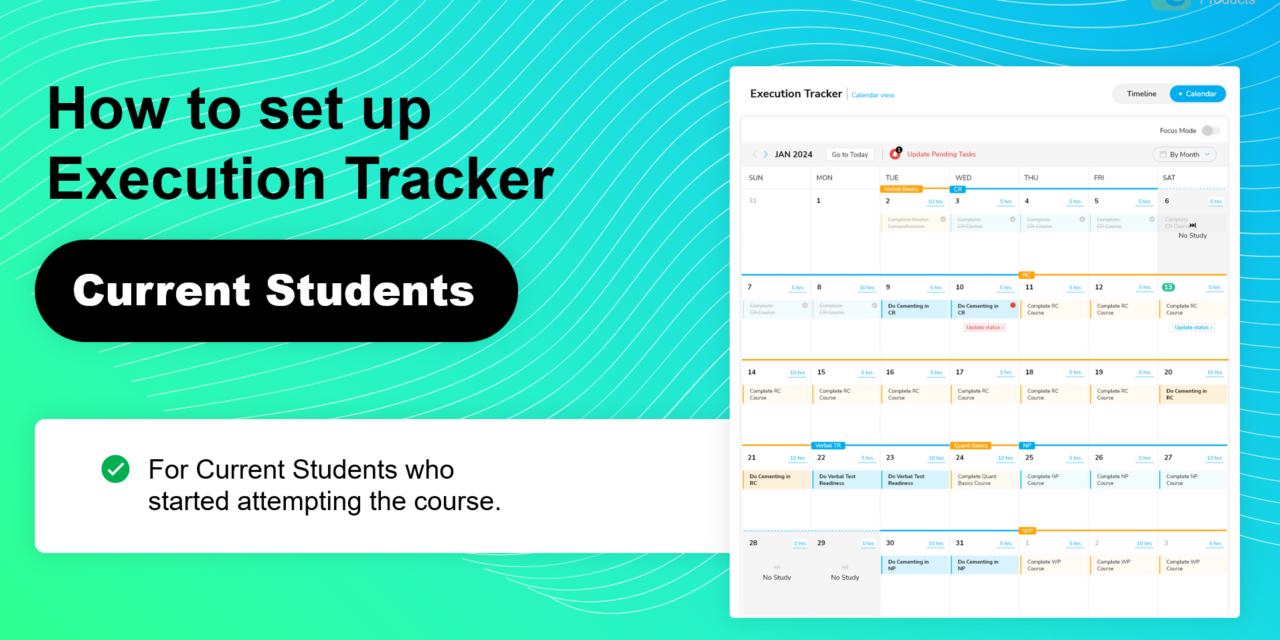
How to access the Execution tracker
You can access the Execution Tracker directly from your Personalized Study Plan. Here are the following steps to access your execution tracker:
- Go to Course Menu -> Plan -> Focus Edition Study Planner
- Create the Study Plan if you have not done already.
- Understand your Verbal, Quant, DI journey and save your plan.
- Click on ‘Execute My Plan’ to access the Execution tracker.
Here is a video explaining how to access the Exam Tracker.
How to Set up your Execution Tracker
Since you have already started your e-GMAT course, you might have already created the Personalized Study Plan (PSP) and made attempts in your course. To set up your Execution Tracker, you must follow the below steps:
- Go to Execution tracker: Access your Personalized Study Plan from the Course menu and click on Execute your plan. This creates a calendar view based on start and end dates decided by your PSP (when you created it).
- Get your real start and end dates: Your real start and end dates might be a bit different from those recommended by the PSP. For example, let’s say your CR start date as per PSP is 15th March, but you actually started the course on 17th March. Similarly, the completion date might also be different. So, you should collect the real start and end dates for the courses that you have started in an excel template (Download here).
- Watch this video to understand how to fill the excel with real end and start date.
- Update Execution tracker with real data: Once you have the excel filled, you can use that data to make changes to your Execution tracker so that it’s fully accurate and up to date.
Three Case Study Videos | How to set up your Execution Tracker.
Most of you will fall in the below three categories (or categories similar to these) as follows:
- Completed one or more subsections (for example CR)
- Completed one entire section (for example Verbal)
- Completed two full sections (example, Verbal, Quant)
We’ve created a help video for each of these categories to help you understand the steps that you need to follow to set up your Execution tracker.
You do not need to watch all the three videos. Choose only one video (category) that is applicable to you.
Case 1 – Completed one or more sub-sections
This video is also applicable to those students who have just completed one or more sub-sections (such as Master Comprehension or Critical Reasoning in Verbal)
Download your Excel template here.
Case 2 – Completed one entire section
Download your Excel template here.
Case 3 – Completed two full sections
Download your Excel template here.
Exploring important features of Exam Tracker
We’ve created very short videos explaining the essential features of the execution tracker that you would use in your daily execution. Features such as how to add a no study day to your tracker if you are taking a break, how to change start and end dates for a task, how to mark a course as completed etc. You may access them here:
Click here – Essential features of the Execution Tracker
Write to us at support@e-gmat.com if you face difficulty setting up or transitioning to your Execution tracker.